Adding Database Access to your SvelteKit App with Prisma

SvelteKit is a metaframework built on top of Svelte. In this article, you will learn how you can use Prisma to add database access to your SvelteKit application.
Table of Contents
- Introduction
- Prerequisites
- 1. Set up your SvelteKit starter project
- 2. Set up Prisma
- 3. Create your database schema and connect your SQLite database
- 4. Define SvelteKit load functions
- 5. Define SvelteKit action functions
- Conclusion
Introduction
SvelteKit is a meta framework built on top of Svelte; it’s what Next.js is to React. SvelteKit 1.0 introduced load and action functions that open up multiple possibilities. For instance, building full-stack applications that query data directly from your application.
This guide will teach you how to use load and action functions with Prisma to build a simple blog application. You will add a database and Prisma ORM to an existing application that currently only stores data in memory.
The application is built using these technologies:
- SvelteKit as the framework
- Prisma as the ORM for migrations and querying
- TypeScript as the programming language
- SQLite as the database
Prerequisites
To successfully finish this guide, you’ll need Node.js installed. If VS Code is your editor, you can install the Prisma extension to improve your developer experience by adding syntax highlighting, formatting, and auto-completion on your Prisma schema files.
1. Set up your SvelteKit starter project
To get started, navigate to the directory of your choice and run the following command to clone the repository:
git clone https://github.com/sonylomo/demo-sveltekit.git
cd demo-sveltekit
Install dependencies and fire up the application:
npm install
npm run dev
Awesome! Your application should be running on http://localhost/ .
The starter project has the following folder structure:
demo-sveltekit/
├ src/
│ ├ lib/
│ │ ├ components/
│ │ │ ├ Header.svelte
│ │ │ └ Post.svelte
│ │ ├ styles/
│ │ │ └ style.css
│ │ └ data.json
│ ├ routes/
│ │ │ ├ create
│ │ │ │ └ +page.svelte
│ │ │ ├ drafts
│ │ │ │ └ +page.svelte
│ │ │ ├ p
│ │ │ │ └ [id]
│ │ │ │ │ └ +page.svelte
│ │ │ ├ signup
│ │ │ │ └ +page.svelte
│ │ │ ├ +layout.svelte
│ │ │ ├ +page.server.ts
│ │ │ └ +page.svelte
│ ├ app.d.ts
│ └ app.html
├ static/
│ └ favicon.png
├ package-lock.json
├ package.json
├ svelte.config.js
├ tsconfig.json
└ vite.config.js
Currently, the project uses dummy data from a data.json file to display published posts on the / route and unpublished posts on the drafts route. You currently cannot view individual posts and sign up as a user or create a post draft. You’ll implement these functionalities with SvelteKit functions and Prisma ORM later in the guide. Moreover, you’ll also replace data fetching from dummy data with a database.
It’s now time to get your hands dirty!
2. Set up Prisma
Start by installing Prisma’s CLI as a development dependency with the following command:
npm install prisma --save-devYou can now set up Prisma in the project by running the following command:
npx prisma init --datasource-provider sqliteprisma init created a new prisma directory with a schema.prisma file inside it and a .env (dotenv) file at the root folder in your project.
The schema.prisma defines your database connection and the Prisma Client generator. For this project, you’ll use SQLite as your database provider for an easier setup. The --datasource-provider sqlite shorthand automatically sets up Prisma using SQLite. However, you can use another database provider simply by changing the database provider from sqlite to your preferred choice and updating the connection URL.
The Prisma schema looks should resemble this:
datasource db {
  provider = "sqlite"
  url      = env("DATABASE_URL")
}

generator client {
  provider = "prisma-client-js"
}
The DATABASE_URL environment variable is stored in the .env file. It specifies the path to the database. The database does not yet currently exist but will be created in the next step.
3. Create your database schema and connect your SQLite database
First, you’ll define a Post and User model with a one-to-many relationship between User and Post. Navigate to prisma/schema.prisma update it with the code below:
// prisma/schema.prisma

datasource db {
  provider = "sqlite"
  url      = env("DATABASE_URL")
}

generator client {
  provider = "prisma-client-js"
}

model Post {
  id        Int      @id @default(autoincrement())
  title     String
  content   String?
  createdAt DateTime @default(now())
  updatedAt DateTime @updatedAt
  published Boolean  @default(false)
  author    User?    @relation(fields: [authorId], references: [id])
  authorId  Int?
}

model User {
  id    Int     @id @default(autoincrement())
  email String  @unique
  name  String?
  posts Post[]
}
Set up seeding for your database
Currently, the application uses dummy data directly from the data.json file. Since the database will be empty when created, you will set up a script to seed some data when it's created.
Create a seed.ts file in the prisma folder and add the seed script below:
// prisma/seed.ts

import { PrismaClient } from '@prisma/client'
import userData from "../src/lib/data.json" assert { type: "json" }

const prisma = new PrismaClient()

async function main() {
  console.log(`Start seeding ...`)

  for (const p of userData) {
    const user = await prisma.user.create({
      data: {
        name: p.author.name,
        email: p.author.email,
        posts: {
          create: {
            title: p.title,
            content: p.content,
            published: p.published,
          },
        },
      }
    })
    console.log(`Created user with id: ${user.id}`)
  }
  console.log(`Seeding finished.`)
}

main()
  .then(async () => {
    await prisma.$disconnect()
  })
  .catch(async (e) => {
    console.error(e)
    await prisma.$disconnect()
    process.exit(1)
})Note: The
@prisma/clientpackage has not yet been installed and should see a squiggly line next to the import. The package will be installed in the next step when you generate a migration.
Then add this property to your package.json file:
-// existing config

"prisma": {
  "seed": "ts-node prisma/seed.ts"
}Refer Prisma docs for more information on seeding.
Create your first database migration
To apply the defined schema to your database, you'll need to create a migration.
npx prisma migrate dev --name initThe above command will execute the following:
- Create a migration called
initlocated in the/prisma/migrationsdirectory. - Create the
dev.dbdatabase file, since it does not exist, and apply the new SQL migration. - Install
@prisma/clientpackage. - Generate Prisma Client based on the current schema.
- Seed the database with sample data defined in the previous step.
You should see similar output on your terminal to the one below:
Environment variables loaded from .env
Prisma schema loaded from prisma/schema.prisma
Datasource "db": SQLite database "dev.db" at "file:./dev.db"

SQLite database dev.db created at file:./dev.db

Applying migration `20230213164207_init`

The following migration(s) have been created and applied from new schema changes:

migrations/
  └─ 20230213164207_init/
    └─ migration.sql

Your database is now in sync with your schema.

✔ Generated Prisma Client (4.9.0 | library) to ./node_mod
ules/@prisma/client in 146ms

Running seed command `ts-node prisma/seed.ts` ...
Start seeding ...
(node:94642) ExperimentalWarning: Importing JSON modules is an experimental feature. This feature could change at any time
(Use `node --trace-warnings ...` to show where the warning was created)
Created user with id: 1
Created user with id: 2
Created user with id: 3
Seeding finished.

🌱  The seed command has been executed.
You can browse the data in your database using Prisma Studio. Run the following command:
npx prisma studioSet up a Prisma Client singleton
Create a prisma.ts file in the src/lib folder to create a Prisma Client instance that you’ll use throughout your application. Paste in the code below:
// src/lib/prisma.ts

import { PrismaClient } from '@prisma/client'

const prisma = new PrismaClient()
export default prisma
4. Define SvelteKit load functions
A SvelteKit load function provides data when rendering a +page.svelte component. Load functions perform GET requests to a route.
For this project, you’ll implement the following load functions:
| Route with load function | Description |
|---|---|
/ | Get all published posts |
/drafts | Get all drafted posts |
/p/[id] | Get a single post by its id |
/: Get all published posts
Create a +page.server.ts file inside src/routes folder and add the code below:
// src/routes/+page.server.ts

import prisma from '$lib/prisma';
import type { PageServerLoad } from './$types';

export const load = (async () => {
// 1.
const response = await prisma.post.findMany({
    where: { published: true },
    include: { author: true },
  })

// 2.
return { feed: response };
}) satisfies PageServerLoad;
The function above does the following:
- Queries all published posts, including their authors, using the
includeoption. - Assigns the
responseresult to thefeedobject response.
Currently, the client is still using dummy data from data.json instead of the SQLite database. Replace the code in src/routes/+page.svelte with the code below to rectify this:
<script lang="ts">
  import Post from '$lib/components/Post.svelte'
  import type { PageData } from './$types'

  export let data: PageData
</script>

<div>
  <h1>My Blog</h1>
  <main>
    <div>

      {#each data.feed as post (post.id)}
        <Post {post} />
      {/each}
    </div>
  </main>
</div>dataprop to receive the returned response from the load function.- Iterates through a list of
feedvalues that are then displayed through thePostcomponent.
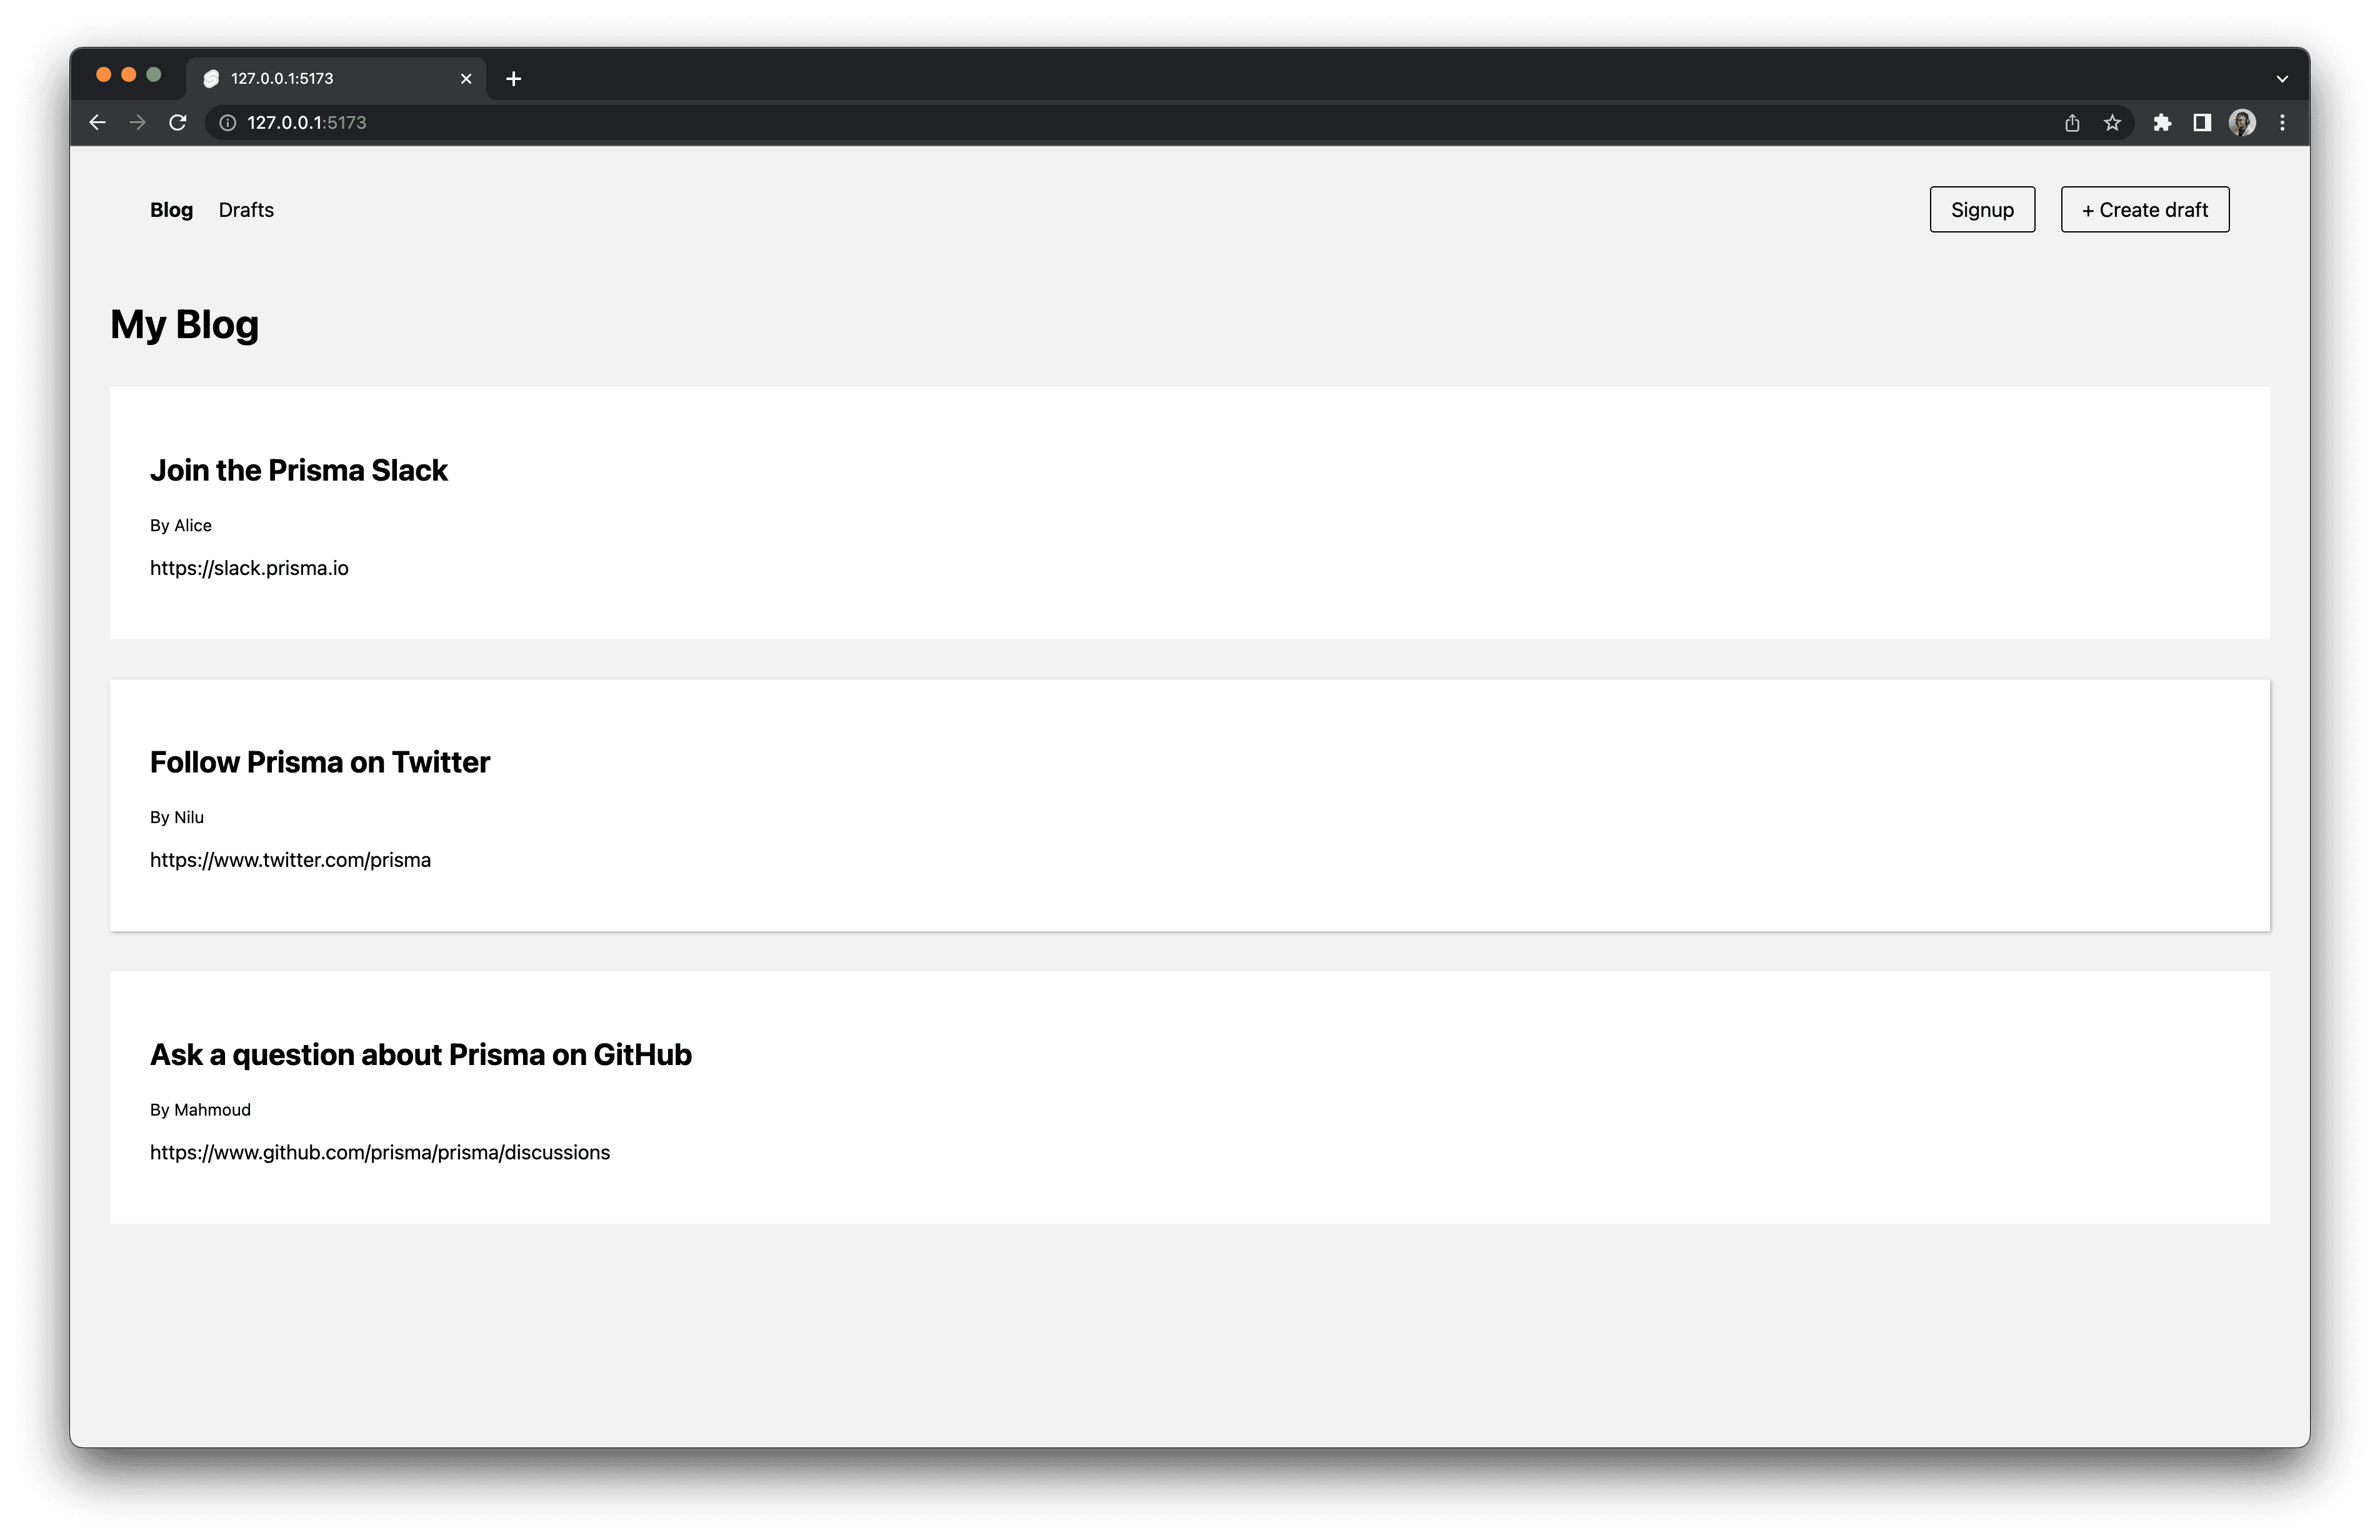
You can experiement with this a little further by adding a post through Prisma Studio and setting the published property to true. It should appear as part of the published posts on the / route.
/drafts: Get all drafted posts
Create a +page.server.ts file inside src/routes/drafts folder and add the code below:
// src/routes/drafts/+page.server.ts
import prisma from '$lib/prisma';
import type { PageServerLoad } from './$types';

export const load = (async () => {
    // 1.
    const response = await prisma.post.findMany({
        where: { published: false },
        include: { author: true },
    })

    // 2.
    return { drafts: response };
}) satisfies PageServerLoad;
The function above does the following:
- Queries all unpublished posts, including their authors relation.
- Returns the
draftsobject response.
Similar to the previous step, you’re going to connect the client side to your SQLite database instead of data.json file. Replace the existing code with the code below:
<script lang="ts">
  import Post from "$lib/components/Post.svelte";
  import type { PageData } from "./$types";

  export let data: PageData;
</script>

<div>
  <h1>Drafts</h1>
  <main>
    <div>

      {#each data.drafts as post (post.id)}
        <Post {post} />
      {/each}
    </div>
  </main>
</div>dataprop to receive the returned response from the load function.- Iterates through a list of
draftsvalues that are then displayed through thePostcomponent.
/p/[id]: Get a single post by its id
Create a +page.server.ts file inside src/routes/p/[id] folder, and add the code below:
// src/routes/p/[id]/+page.server.ts
import prisma from "$lib/prisma";
import type { PageServerLoad } from './$types';

// 1.
export const load = (async ({ params: { id } }) => {
    // 2.
    const post = await prisma.post.findUnique({
        where: { id: Number(id) },
        include: { author: true },
    });

    // 3.
    return { post };
}) satisfies PageServerLoad;
The load function above does the following:
- Leverages the load function
dataprop to get the postid. - Queries the database for a single post by its
id. - Returns the
postobject response.
Test out this functionality by clicking on a post in either the the / or /drafts routes. You should view a post's details along with it's author information.
You’ve added Prisma queries to load data into your application. At this point, your application should be able to fetch published and unpublished posts from your database. You should also be able to view individual post details when you select them.
5. Define SvelteKit action functions
A SvelteKit action is a server-only function that handles data mutations. Actions execute non-GET requests (POST, PUT, PATCH, DELETE) made to your route.
Actions are defined in the +page.server.ts files created in their respective route folders that will act as your action URLs.
For this project, you’ll implement these actions:
| Action Route | Action URL | Type Of Request | Description |
|---|---|---|---|
| route/create | default | POST | Create a new post in your database |
| route/p/[id] | ?/publishPost | PUT | Publish a post by its id |
| route/p/[id] | ?/deletePost | DELETE | Delete a post by its id |
| route/signup | default | POST | Create a new user |
/create: Create a new post in your database
Create a +page.server.ts file inside src/routes/create folder and add the code below:
// src/routes/create/+page.server.ts

import prisma from "$lib/prisma";
import { fail, redirect } from '@sveltejs/kit';
import type { Actions } from './$types';

export const actions = {
    // 1.
    default: async ({ request }) => {
        const data = await request.formData();

        let title = data.get("title")
        let content = data.get("content")
        let authorEmail = data.get("authorEmail")

        // 2.
        if (!title || !content || !authorEmail) {
            return fail(400, { content, authorEmail, title, missing: true });
        }

        // 3.
        if (typeof title != "string" || typeof content != "string" || typeof authorEmail != "string") {
            return fail(400, { incorrect: true })
        }

        // 4.
        await prisma.post.create({
            data: {
                title,
                content,
                author: { connect: { email: authorEmail } }
            },
        });

        //5.
        throw redirect(303, `/`)
    }
} satisfies Actions;
The snippet above does the following:
- Declare a
defaultaction to create a new post in your database. The action receives aRequestEventobject, allowing you to read the data from the form in/create/+page.sveltewithrequest.formData(). - Add a validation check for any missing required inputs. The
failfunction will return an HTTP status code and the data to the client. - Add a type check for entries that aren’t string values.
- Query the database with a request body expecting:
title: String(required): The title of the postcontent: String(required): The content of the postauthorEmail: String(required): The email of the user that creates the post (the user should already exist)
- Throw a redirect to
/draftsroute once the query is executed.
Click the +Create draft button and fill in the form to create a new post. Once you’ve submitted it, your post should appear on the /draft route.
/p/[id]: Publish and Delete a post by its id
To the existing +page.server.ts file inside src/routes/p/[id] folder, add the code below:
// src/routes/p/[id]/+page.server.ts
import prisma from "$lib/prisma";
// 1.
import { redirect } from '@sveltejs/kit';
import type { Actions, PageServerLoad } from './$types';

export const load = (async ({ params: { id } }) => {
    const post = await prisma.post.findUnique({
        where: { id: Number(id) },
        include: { author: true },
    });
    return { post };
}) satisfies PageServerLoad;

export const actions = {
    // 2.
    publishPost: async ({ params: { id } }) => {
        await prisma.post.update({
            where: { id: Number(id) },
            data: {
                published: true,
            },
        });

        throw redirect(303, `/p/${id}`);
    },

    // 3.
    deletePost: async ({ params: { id } }) => {
        await prisma.post.delete({
            where: { id: Number(id) },
        });

        throw redirect(303, '/')
    }
} satisfies Actions;
The snippet does the following:
- Imports the
redirectandActionsutilities. publishPostaction: defines a query that finds a post itsidand updates the published property to true.deletePostaction: defines a query that deletes a post by itsid.
Select any unpublished post; you should be able to delete or publish it. You should also be able to delete published posts.
/signup: Create a new user
Create a +page.server.ts file inside src/routes/signup folder and add the code below:
// src/routes/signup/+page.server.ts

import { fail } from '@sveltejs/kit';
import prisma from "$lib/prisma";
import { redirect } from '@sveltejs/kit';
import type { Actions } from './$types';

const validateEmail = (email: string) => {
    return (/^\w+([\.-]?\w+)*@\w+([\.-]?\w+)*(\.\w{2,3})+$/.test(email))
}

export const actions = {
    // 1.
    default: async ({ request }) => {
        const data = await request.formData();

        let name = data.get("name")
        let userEmail = data.get("userEmail")

        // 2.
        if (!name || !userEmail) {
            return fail(400, { name, userEmail, missing: true });
        }
				// 3.
        if (typeof name != "string" || typeof userEmail != "string") {
            return fail(400, { incorrect: true })
        }
				// 4.
        if (!validateEmail(userEmail)) {
            return fail(400, { name, incorrect: true });
        }

        // 5.
        await prisma.user.create({
            data: {
                name,
                email: userEmail,
            },
        });

        throw redirect(303, `/drafts`)
    }
} satisfies Actions;
The code does the following:
- The
defaultaction receives submitted data from the signup form. - Checks for any missing required inputs and validity of the user’s email.
- Add a type check for entries that aren’t string values.
- Add a validation check for user’s email.
- Creates a new user with the following request body:
name: String(required): the user’s nameemail: String(required): the user’s email address
Select the Signup button and fill in the form. You should now be able to add a new user to your database.
Congratulations, you’re done. 🎉 You’ve successfully added Prisma queries to mutate data in your database. You can successfully create, publish or delete a post. You can also add a new user to your database as an author.
The complete code for this guide can be found on GitHub.
Conclusion
In this article, you learned how to fetch and mutate data from an SQLite database using SvelteKit’s Load and Action functions with Prisma.
You can explore other methods of interacting with your database, like using an api folder to define REST endpoints, a type-safe tRPC API or a GraphQL API.
Happy hacking!